How to Apply ClassicBond EPDM Roofing
Single-ply EPDM sheet for flat & low-slope roofs (illustration only)
⚠️ Important Disclaimer: This guide is for illustration purposes only. It is not an installation manual and does not replace manufacturer data sheets, professional design, or building regulations. Site conditions vary. Clever Shield Coatings Ltd accepts no liability for actions taken based on this information. Always follow current ClassicBond EPDM documentation and consult competent professionals.
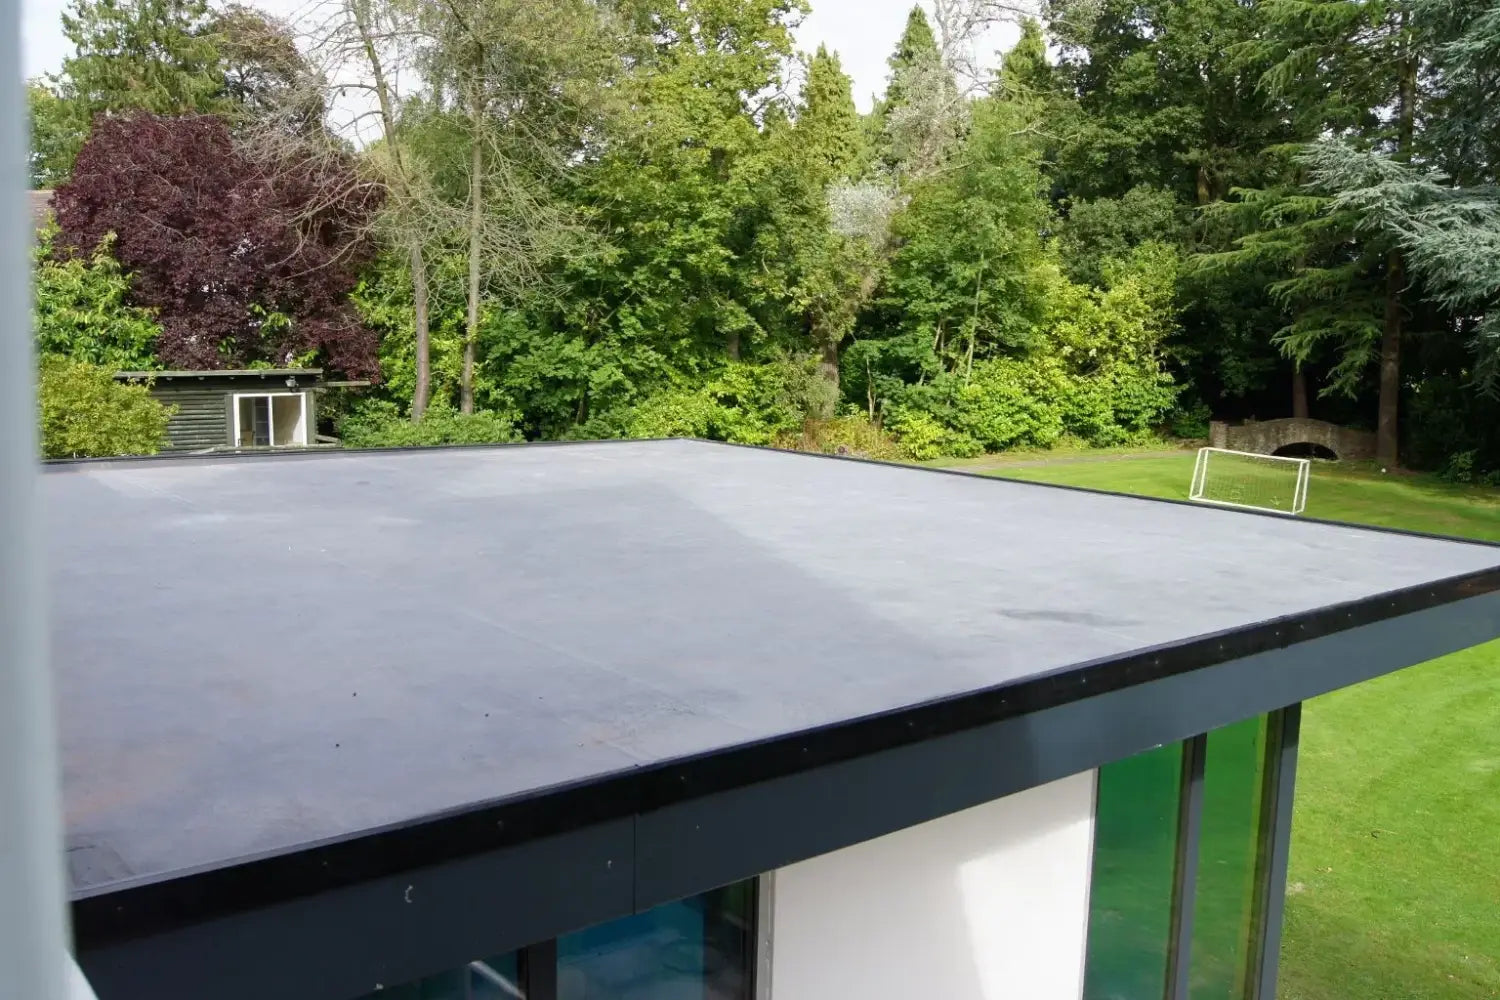
ClassicBond EPDM is a durable single-ply rubber membrane for flat and low-slope roofs on timber decks (OSB/ply) and suitable overlays. It provides a long-life, low-maintenance waterproofing with minimal seams and simple detailing using primers, tapes and pre-formed accessories.
1) Best use cases
- Extensions, garages, dormers, garden rooms and simple commercial roofs
- New decks in OSB3/plywood or refurb over suitable, sound substrates (with approved separation layer if required)
- Roofs with minimal penetrations and straightforward perimeters.
2) What you’ll need (map to your listings)
- ClassicBond EPDM sheet (single piece where possible)
- Water-based deck adhesive (field adhesion to timber)
- Contact adhesive (perimeters, upstands, details)
- EPDM primer (for tapes/flashings)
- Seam/Flashing tapes (splice tape, cover strip, pipe boots, internal/external corners)
- Termination bar & fixings (where chasing isn’t used)
- Edge/drip/reveal trims and compatible outlets
- Tools: silicone roller, soft broom, scissors/knife, tape measure, chalk line
- PPE: gloves, eye protection; follow adhesive/primer safety data
3) Substrate checks
- Deck: Clean, dry, structurally sound OSB3/ply; fixings flush; no loose boards or sharp projections.
- Falls & drainage: Provide positive falls; ensure outlets are fitted and clear.
- Dry fit: Unpack EPDM, unfold and relax for ~30 minutes to reduce memory.
4) Setting out & dry-lay
- Position the EPDM to achieve minimal seams and tidy perimeters.
- Allow slight overhang at edges for trimming after adhesion.
- Fold back half the sheet neatly along a central hinge.
5) Field adhesion (illustration only)
- Roll on water-based deck adhesive to the exposed timber field (not perimeters). Even, continuous coat—no puddles.
- Lay the EPDM back into the wet adhesive, working from the hinge outwards. Use a soft broom then a silicone roller to remove air and ensure full contact.
- Repeat for the second half of the roof.
6) Perimeters & upstands
- Use contact adhesive at roof edges and verticals. Apply to both surfaces, allow to become touch-dry, then bond EPDM carefully without trapping air.
- Trim excess; roll firmly. Fit edge/drip trims as specified.
7) Joints & penetrations
- Seams (if any): Clean and prime both mating surfaces with EPDM primer. Apply splice tape, roll firmly, then over-band with cover strip where specified.
- Internal/external corners: Prime and install pre-formed corners or flashing tape; consolidate with a silicone roller.
- Pipes/vents: Use pre-formed pipe boots; prime, fit, clamp and seal per data sheet.
8) Terminations
- Into chases: insert EPDM and seal; or use termination bar with suitable fixings at masonry/upstands, finished with a compatible sealant bead.
- Always maintain water-shedding detail above terminations (e.g., cover flashings).
9) Quality checks & common pitfalls
- Wrinkles/bridging: Work from the centre out; don’t stretch the membrane over corners—dress and roll.
- Poor bond at edges: Ensure contact adhesive is touch-dry before mating; roll thoroughly.
- Unprimed tape areas: Tapes only bond to primed EPDM—don’t skip primer.
- Drainage: Keep outlets clear; avoid ponding where practical.
10) Maintenance
- Inspect at least annually; clear debris and check trims, outlets and flashed details.
- Clean with mild, approved cleaners; avoid harsh solvents.
Product availability
ClassicBond EPDM sheets, water-based/contact adhesives, EPDM primer, tapes/flashings, pipe boots, termination bars, trims and outlets are available from Clever Shield. Use the site search to find the exact items and sizes for your project.
⚠️ Legal Notice: This content is a general, illustrative overview. It is not a project specification and may not suit all properties. Requirements, regulations and product guidance can change. Clever Shield Coatings Ltd provides this information “as-is” without warranty. Always follow current ClassicBond EPDM data sheets and consult qualified professionals before commencing work.