How to Install ISO-THERM Internal Insulation
ISO-THERM installation guide: rolls + adhesive
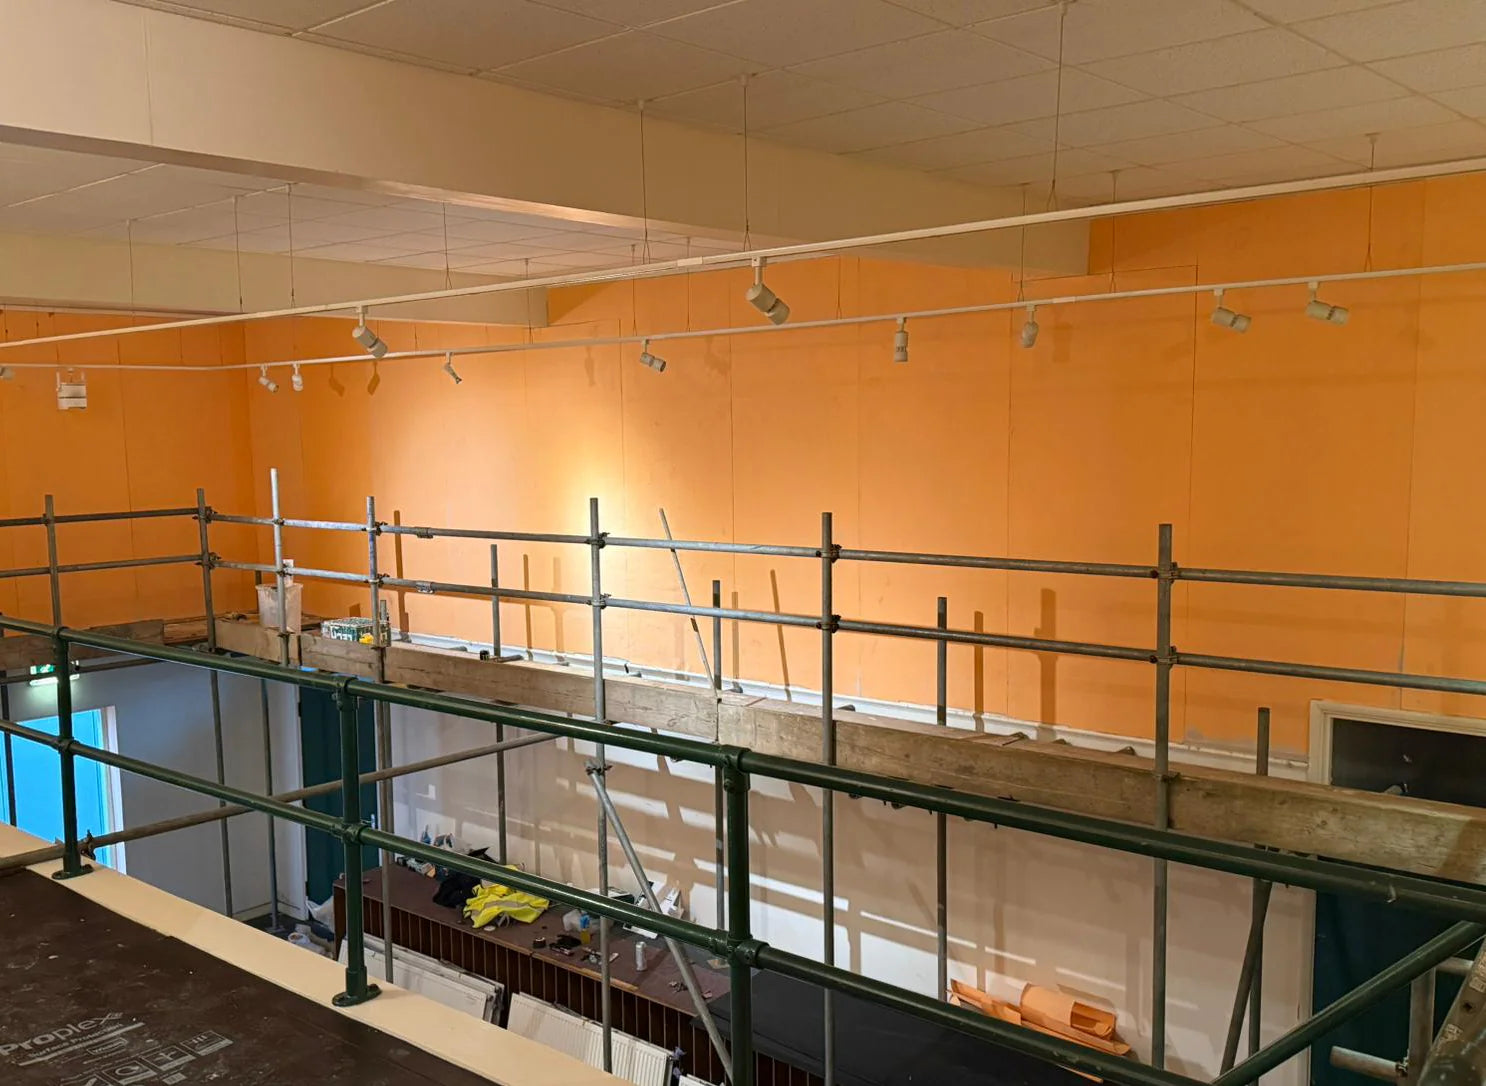
Step-by-Step Guide – For Illustration Purposes Only
This guide is provided for illustration purposes only. It is not an official installation manual and does not replace the manufacturer’s technical data sheets, method statements, or professional advice. Always follow current manufacturer documentation and applicable building regulations. Clever Shield Coatings Ltd accepts no liability for any loss, damage, or misuse arising from this information.
1. Introduction
ISO-THERM is a thin, internal lining system designed to help reduce cold-surface condensation and improve thermal comfort on problematic walls and ceilings. Installed with a compatible ISO-THERM adhesive, the system creates a warmer internal surface that supports subsequent finishing layers.
This guide outlines a typical approach for ISO-THERM rolls and adhesive. It is intended for illustrative purposes only; actual methods vary based on substrate, site conditions, and the specific product variant used.

2. System Overview
- Components: ISO-THERM roll(s), ISO-THERM adhesive, joint tape/sealant as specified, and finishing materials.
- Applications: Internal walls and ceilings affected by cold bridging or surface condensation.
- Benefits: Rapid to apply, minimal disruption, supports breathable finishes when specified, creates a more even surface temperature.
- Limitations: Not a substitute for structural repairs or for resolving bulk water ingress. Address damp sources before installation.
3. Preparation
- Survey & diagnosis: Identify and remedy sources of liquid water ingress or leaks before insulating. Consider ventilation improvements where condensation is a factor.
- Surface condition: Remove loose paint, wallpaper, failing plaster, grease, and dust. Repair hollow or friable areas. The surface should be sound, clean, and reasonably flat.
- Mould treatment: Where visible mould is present, clean and treat with a suitable biocidal wash. Allow to dry fully before proceeding.
- Environmental conditions: Install within recommended temperature and humidity limits. Avoid freezing or excessively hot conditions. Ensure adequate ventilation during and after adhesive application.
- Set-out: Mark vertical reference lines and plan roll widths to minimise narrow offcuts at corners and reveals.
4. Tools & Materials
- ISO-THERM rolls (sufficient for the area)
- ISO-THERM adhesive (coverage as per product guidance)
- Joint tape/sealant where specified
- Sharp knife or shears, straightedge, tape measure
- Notched trowel/adhesive spreader (as recommended for the adhesive)
- Pressure roller or float for consolidation
- PPE: gloves, eye protection, suitable mask/respirator if required
5. Cutting & Dry-Fitting
- Pre-cut ISO-THERM lengths allowing a small trimming allowance at top/bottom.
- Offer each length to the wall dry to check fit around sockets, reveals, and obstructions. Mark and trim carefully.
- Plan joints to fall away from high-impact areas and avoid small slivers at corners.
6. Adhesive Application
- Stir the adhesive if required. Follow the manufacturer’s guidance for open time and coverage.
- Apply adhesive to the substrate using the recommended trowel or spreader, achieving an even, continuous bed. Do not leave voids.
- Work in manageable areas so the adhesive remains within its open time before roll application.
Note: Some adhesives may allow application to the back of the roll; follow the specific product instructions you are using.
7. Installing the ISO-THERM Rolls
- Present the first pre-cut length to the adhesive bed, aligning to your vertical reference line.
- From the centre outward, use a roller or float to consolidate and expel trapped air. Ensure full contact with the adhesive.
- Check for flatness. Avoid stretching. Re-work gently where needed before the adhesive grabs.
- Install subsequent lengths with tight, neat edges. Maintain consistent alignment across the wall or ceiling.

8. Joints, Corners & Reveals
- Longitudinal joints: Butt neatly. Where specified, seal joints with the recommended joint tape or sealant to maintain continuity.
- Internal/external corners: Pre-cut and dry-fit for accuracy. Consolidate firmly to maintain adhesion at corners.
- Openings/reveals: Line reveals to reduce thermal bridging where practical. Use crisp cuts and ensure firm adhesion at edges.
9. Finishing Options
- Direct skim or finishing coats: Where the system allows, apply compatible finishing plasters or coatings as specified. Respect drying/curing times.
- Boarded finish: Alternatively, fix a suitable lining board over the system (if part of the design). Use appropriate fixings that do not compromise adhesion or create cold bridges.
- Decoration: Only decorate once finishes are fully cured and dry. Use breathable paints or finishes where specified.
10. Thermal Bridging & Detailing
- Extend ISO-THERM into corners, soffits, and reveals where feasible to limit cold spots.
- Seal gaps at skirtings, architraves, and service penetrations to reduce localised condensation risk.
- Coordinate with ventilation measures (trickle vents, extract fans) for moisture control in kitchens and bathrooms.
11. Product Availability
All components required for this installation—ISO-THERM rolls, ISO-THERM adhesive, joint tapes/sealants, and finishing accessories—are available directly from Clever Shield Coatings. Use the search bar on our website or browse our product categories to locate the items you need.
12. Aftercare & Inspection
- Inspect periodically for impact damage, edge detachment, or joint movement. Repair locally as needed.
- Avoid fixing heavy loads through the system unless the design provides suitable grounds or fixings.
- Maintain adequate ventilation and manage internal humidity to support long-term performance.
This information is based on general industry practice for internal insulation liners and is provided for illustration only. It is not official manufacturer guidance. Specifications, components, and methods may change without notice. Clever Shield Coatings Ltd provides this content “as-is” and assumes no responsibility for its use or interpretation. Always consult the manufacturer’s current technical documents, relevant standards, and qualified professionals before installation.