How to Install Mapelastic Foundation (Mortar)
Installation overview — Mapelastic Foundation waterproofing (illustration only)
⚠️ Important Disclaimer:
This guide is provided for illustration purposes only. It is not an installation manual and does not replace manufacturer instructions, professional design, or building regulations. Site conditions vary. Clever Shield Coatings Ltd accepts no liability for actions taken based on this information. Always follow current product data sheets and consult competent professionals.
This guide is provided for illustration purposes only. It is not an installation manual and does not replace manufacturer instructions, professional design, or building regulations. Site conditions vary. Clever Shield Coatings Ltd accepts no liability for actions taken based on this information. Always follow current product data sheets and consult competent professionals.
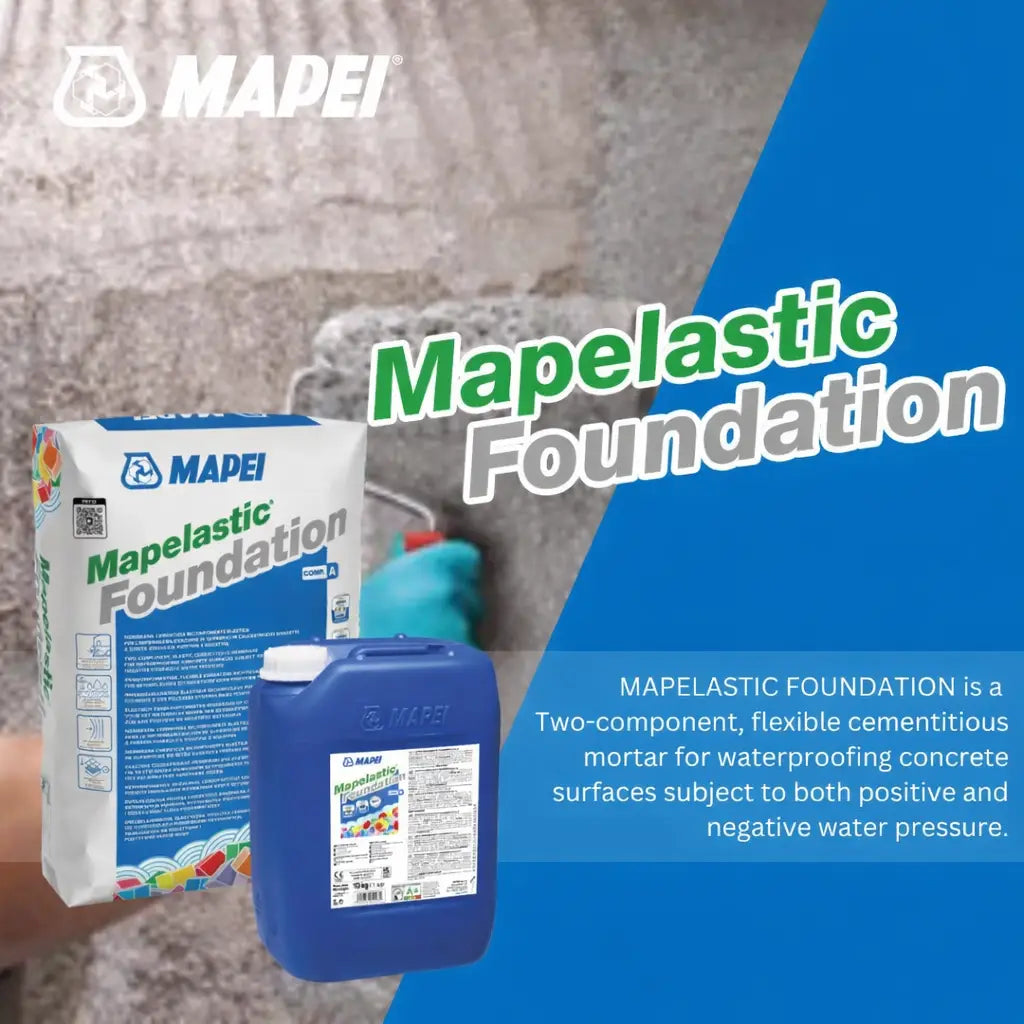
1. What is Mapelastic Foundation?
Mapelastic Foundation is a two-component, cementitious waterproofing coating (often referred to as a mortar/slurry) designed to form a flexible barrier against water ingress on below-grade and retaining structures. It is used on concrete and masonry surfaces and can be part of a combined waterproofing strategy for basements, tanks and foundations.
2. Suitable substrates & typical areas
- Cast concrete, blockwork, brickwork and sound render/screed.
- External foundation walls, plinths, retaining walls, lift pits and service rooms.
- Internal negative-side applications where permitted by design (check product data and project specification).
3. Safety & preparation
- PPE: Gloves, eye protection and a suitable mask/respirator when mixing or grinding.
- Defects first: Repair honeycombing, blow-holes and cracks. Stop active leaks with a rapid-setting plugging compound.
- Surface prep: Remove dirt, oil, paint, laitance and loose material. Mechanically prepare to a clean, open-pore surface.
- Edges & corners: Form cementitious fillets at wall–floor/internal corners to reduce stress concentrations.
- Dampen: Lightly pre-dampen absorbent substrates to SSD (saturated surface-dry) before coating—no standing water.
4. Tools & materials
- Mapelastic Foundation (two components)
- Clean water, mixing bucket and paddle mixer
- Brush/roller/trowel or spray equipment
- Reinforcing mesh/band for changes of plane and local crack bridging (if specified)
- Cementitious repair mortar & plugging compound for prep and fillets
- Protection/drainage board for backfilled areas
5. Mixing (follow product data sheet)
- Combine the two components exactly as directed; add powder to liquid while mixing to achieve a smooth, lump-free paste.
- Respect pot life/open time. Mix small, workable batches; do not re-temper with water.
- Apply within the recommended temperature/humidity window.
6. First coat application
- Pre-dampen the substrate to SSD.
- Apply the first coat by brush, roller, trowel or spray, working firmly into pores and pinholes to ensure full contact.
- Maintain an even coat with no translucent areas. Observe specified wet-film thickness from the product data sheet.
7. Reinforcement & detailing
- While the first coat is fresh (or as specified), embed reinforcing mesh/band over internal corners, joints, hairline cracks and around penetrations.
- Seal around pipes and services with compatible detailing materials to maintain continuity.
- At changes of substrate/plane, ensure overlaps of reinforcement meet the minimum specified by the system.
8. Second coat application
- Allow the first coat to reach initial set (finger-firm) as conditions allow.
- Apply the second coat at 90° to the first (cross-hatch) for uniformity and continuity.
- Extend coating beyond visibly damp zones onto sound, dry substrate to provide a robust lap.
9. Curing & protection
- Protect fresh coatings from rapid drying, frost, rain impact and early abrasion.
- Respect cure times before applying renders, insulation boards, screeds or finishes.
- On backfilled foundation walls, install protection/drainage boards over the cured coating before backfilling with free-draining material.
10. Integration with other systems
- Where risk or performance grade requires, combine with a Type C drained cavity system (stud membranes, perimeter channel and sump & pump) to add serviceable redundancy.
- Interface details: ensure clean transitions to membranes, terminations into chases, and sealed laps at thresholds/columns/steps.
11. Quality checks & common pitfalls
- Pinhole/holiday risk: Caused by inadequate preparation or thin application—re-coat locally to reinstate continuity.
- Poor adhesion: Occurs on dusty, painted or contaminated substrates—mechanical prep is essential.
- Junction failures: Always fillet internal corners and reinforce changes of plane.
12. Finishes & backfilling
- Apply compatible renders/boards/insulation once fully cured, per the product guidance.
- Before backfill, confirm coating continuity and install protection board; avoid sharp aggregates and heavy point loading directly on the coating.
13. Product availability
All components for this system—Mapelastic Foundation, repair mortars and plugging compounds, reinforcement mesh, protection/drainage boards, and compatible membranes/channels for combined systems—are available directly from Clever Shield Coatings. Use the website search bar or browse our product categories to find what you need.
⚠️ Legal Notice:
This content is a general, illustrative overview. It is not manufacturer guidance and may not suit all properties. Specifications, regulations and recommended methods can change. Clever Shield Coatings Ltd provides this information “as-is” without warrant ::contentReference[oaicite:0]{index=0}
This content is a general, illustrative overview. It is not manufacturer guidance and may not suit all properties. Specifications, regulations and recommended methods can change. Clever Shield Coatings Ltd provides this information “as-is” without warrant ::contentReference[oaicite:0]{index=0}