How to Install Wykamol CM3 Mesh Membrane
Preparation / Fixing / Finishing
Step-by-Step Guide – For Illustration Purposes Only
This guide is provided for illustration purposes only. It is not an official installation manual and does not replace Wykamol’s technical data sheets or professional advice. Always follow the manufacturer’s official documentation and building regulations. Clever Shield Coatings Ltd accepts no liability for any loss, damage, or misuse arising from this information.
1. Introduction
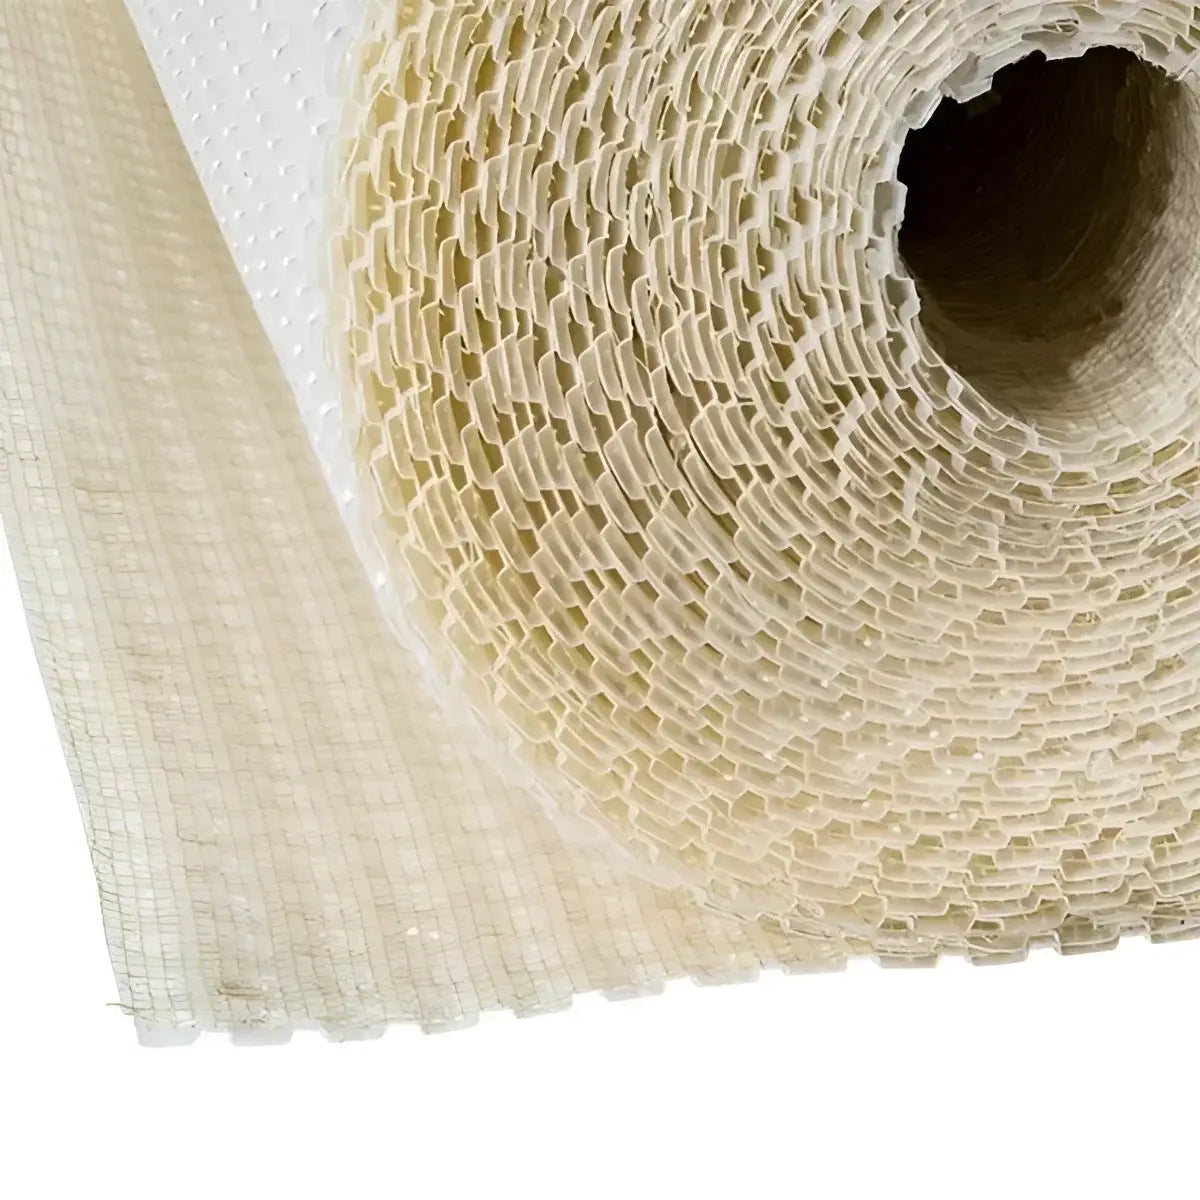
The Wykamol CM3 Mesh Membrane is a high-density polyethene cavity drain membrane with an integrated mesh face. It is commonly used in property refurbishment and damp proofing to provide a stable, dry surface suitable for plastering or boarding.
This guide offers a general overview of how such membranes are typically installed. It is designed for illustrative and educational purposes only; actual installation methods may vary depending on the site and substrate conditions.
2. Product Overview
- Thickness: 3 mm stud height with bonded mesh layer
- Purpose: Creates an air gap to control moisture and provide a finish-ready surface
- Applications: Internal walls, basements, refurbishment, and remedial damp proofing
- Benefits: Quick installation, chemical resistance, minimal preparation, compatible with plaster or board finishes
3. Preparation
- Remove all loose render, paint, or debris from the surface.
- Clean the substrate thoroughly to remove dust and contamination.
- Treat any mould or fungal growth with an appropriate biocide before installation.
- Fill holes or voids and ensure the surface is reasonably flat and sound.
- Confirm there is no active water ingress prior to fitting.
Do not install during freezing or excessively hot conditions. Always wear suitable PPE.
4. Cutting and Handling
- The membrane can be installed vertically or horizontally, depending on the area.
- Cut to size using a sharp knife or shears.
- Butt the edges together neatly.
- Reinforce joints and corners with compatible mesh tape or sealing accessories.
5. Fixing the Membrane
- Position the membrane with the stud side against the wall and the mesh side facing outward.
- Drill through the membrane into the substrate using the correct drill size for your plug or fixing type.
- Insert the plug with sealing washer and tap until secure.
- Continue fixing at approximately 200–250 mm centres (adjust to suit wall conditions).
- Ensure the membrane lies tight and flat without distortion.
For timber or sheeted surfaces, use corrosion-resistant nails instead of plugs.
6. Finishing Options
- Once fixed, the surface can be plastered, rendered, or dry-lined using the dot-and-dab method.
- Maintain a 20–25 mm gap above the floor to avoid bridging damp from the slab.
- Protect new plaster or render from rapid drying to reduce cracking.
- Do not decorate until the surface is completely dry.
7. Product Availability
All materials required for this installation, including membranes, plugs, mesh tape, and accessories, are available directly from Clever Shield Coatings. You can find them easily by using the search bar at the top of our website or by browsing our product categories.
8. Aftercare and Inspection
- Inspect the finished wall periodically for signs of movement or cracking.
- Avoid drilling or fixing heavy loads through the membrane unless professionally advised.
- If water drainage behind the system is compromised, seek professional evaluation.
This information is based on general industry practice and publicly available data. It is not official Wykamol guidance and is provided “as-is” for illustration only. Product specifications and methods may change without notice. Clever Shield Coatings Ltd assumes no responsibility for any actions taken based on this guide. Always follow the manufacturer’s most recent technical documentation and consult qualified professionals where appropriate.