How to Install Wykamol CM8 Membrane
Preparation / Fixing / Finishing
Step-by-Step Guide – For Illustration Purposes Only
This guide is provided for illustration purposes only. It is not an official installation manual and does not replace the manufacturer’s technical data sheets, method statements, or professional advice. Always follow the manufacturer’s current documentation and applicable building regulations. Clever Shield Coatings Ltd accepts no liability for any loss, damage, or misuse arising from this information.
1. Introduction
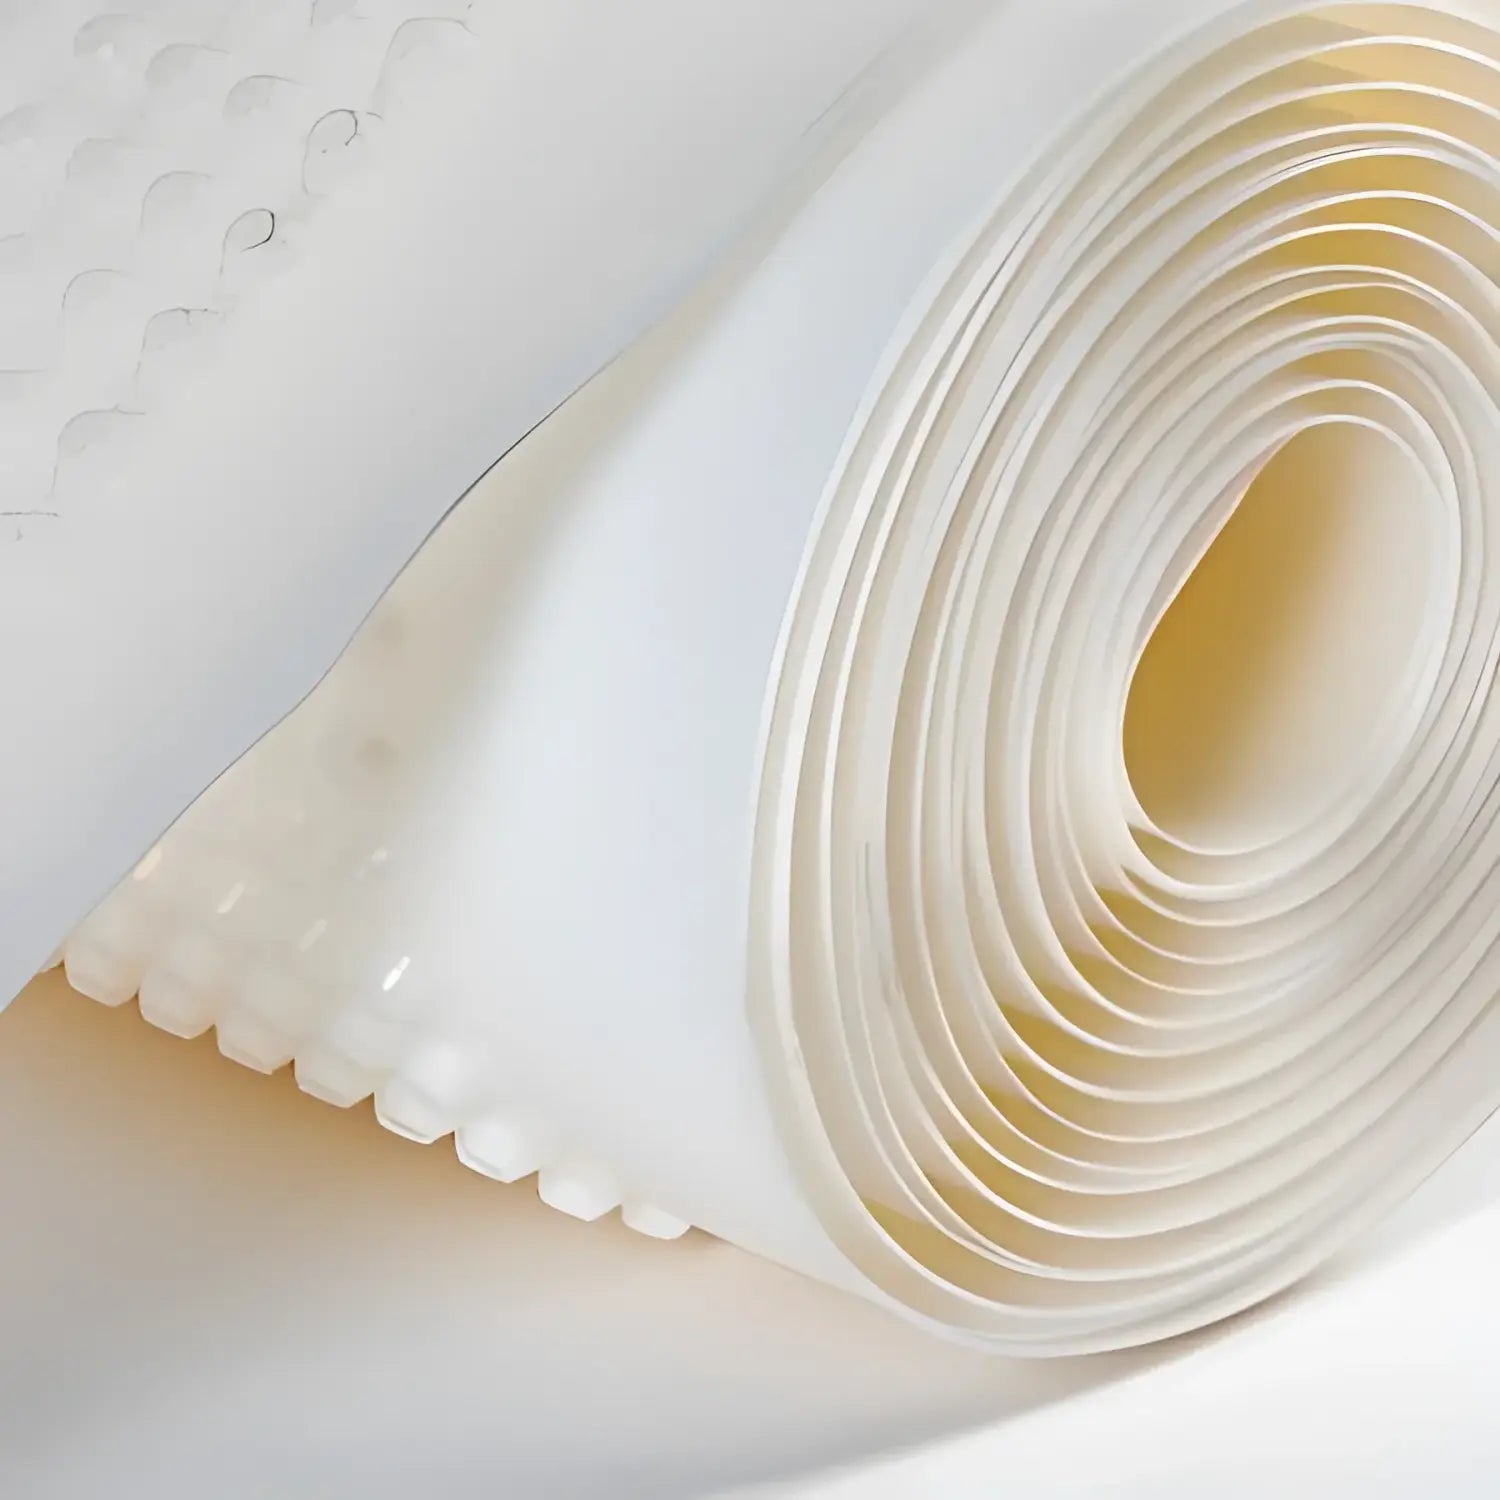
The Wykamol CM8 Membrane is a high-density polyethylene (HDPE) studded cavity drain membrane with approximately 8 mm stud height. It is commonly used in Type C drained protection systems to manage moisture by creating a controlled air gap between the substrate and internal finishes.
This guide outlines a typical approach to CM8 installation on walls and floors for illustrative purposes only. Actual methods vary with substrate, site conditions, system design, and integration with drainage components such as perimeter channels and sumps.
2. Product Overview
- Type: 8 mm studded HDPE cavity drain membrane (plain face)
- Use: Moisture management layer for internal walls and floors as part of a drained system
- Finishes: Typically requires an independent lining (timber/metal stud and plasterboard) on walls; screed or boarded build-up on floors
- Benefits: Rapid installation, minimal substrate preparation, salt resistance, allows substrates to dry while providing a finish-ready cavity
3. Preparation
- Remove loose paint, render, and debris. Brush or vacuum to provide a reasonably clean surface.
- Treat visible mould or fungal growth with a suitable biocide; allow to work per product instructions.
- Make good significant holes/voids; knock off fragile high spots that may puncture the membrane.
- Confirm the structure is sound. Address active water ingress or leaks prior to membrane installation.
- Ensure safe working conditions: suitable lighting, ventilation, and PPE.
Avoid installation during freezing conditions or extremes of heat. Follow site-specific RAMS and relevant regulations.
4. Layout & Cutting
- Plan the layout before starting. For walls, sheets can be run vertically or horizontally to minimise joints.
- Cut CM8 with a sharp knife or shears. Keep edges straight for neat joints.
- Where possible, set out to avoid short offcuts at corners or reveals.
5. Jointing & Edge Detailing
- Sheet-to-sheet joints: Butt neatly or lap by approximately one stud; seal using compatible waterproof tapes as required by the chosen system.
- Corners and returns: Form tight bends where practical or butt and seal. Reinforce with tape where specified.
- Penetrations: Cut accurately around services. Seal with appropriate sealing rope/mastic and tape to maintain continuity.
- Perimeter upstands (floors): Turn the membrane up the wall, typically 50–100 mm to form a tray before wall lining is installed, unless the design specifies an alternative detail.
6. Fixing to Walls
- Present CM8 to the wall with the stud side facing the substrate and the flat face inward.
- Drill through the membrane into suitable substrates using the correct drill size for the selected plug/washer fixing.
- Insert membrane plugs with sealing washers and tap home until secure. Do not overtighten or distort the sheet.
- Typical fixing centres are around 200–250 mm, adjusted to suit substrate condition, curvature, or exposure.
- At sheet edges and corners, use closer centres if needed to ensure a tight, even finish.
On timber or sheeted substrates, use appropriate corrosion-resistant fixings or nails. Maintain airtightness/watertightness at critical junctions per the system design.
7. Floors – Laying CM8
- Prepare the slab (clean and reasonably level). Remove sharp protrusions that could damage the membrane.
- Unroll CM8 studs-down on the floor. Align sheets and minimise waste.
- Form sealed joints between sheets using compatible floor tapes as required by the system design.
- Create a perimeter upstand to the wall (typically 50–100 mm) unless another detail is specified; this helps prevent bridging at the slab/wall junction.
- Protect CM8 with the specified build-up: screed, chipboard/OSB over a suitable underlay, or other load-spreading layer as designed.
Where used below ground, floors are typically integrated with perimeter channels and a suitable discharge arrangement. Follow the overall waterproofing design.
8. Finishing Options
- Walls: Install an independent lining system (timber battens or metal studs). Fix plasterboard to the framework. Maintain a small gap above finished floors to avoid bridging.
- Floors: Install the specified build-up (e.g., screed or boarded system) over CM8. Follow drying/curing guidance for wet trades.
- Do not directly plaster onto CM8 (use a mesh-type membrane if a direct plaster finish is required).
- Only decorate once finishes are fully dry and stable.
9. Integration & Design Notes
- As part of a Type C system, ensure continuity to drainage pathways and, where specified, to a sump/pump or gravity drain.
- Maintain accessible inspection/flush points for channels where included in the design.
- Ensure all details (thresholds, columns, steps, penetrations) are addressed in the design and on-site method.
10. Product Availability
All materials required for this installation—membranes, plugs with sealing washers, tapes, sealing rope/mastics, perimeter channel components, and finishing accessories—are available directly from Clever Shield Coatings. Use the search bar on our website or browse our product categories to locate the items you need.
11. Aftercare & Inspection
- Periodically check lined surfaces for movement or damage caused by subsequent works.
- Avoid drilling or fixing heavy loads through the system without professional guidance.
- Monitor any drainage components for performance and keep access points clear where the design provides them.
This information is based on general industry practice for cavity drain membranes and is provided for illustration only. It is not official manufacturer guidance. Specifications, components, and methods may change without notice. Clever Shield Coatings Ltd provides this content “as-is” and assumes no responsibility for its use or interpretation. Always consult the manufacturer’s current technical documents, relevant standards, and qualified professionals before installation.