How to Install Wykamol Damp-Proofing Injection Cream (DPC Cream)
Installation overview — chemical DPC for rising damp (illustration only)
⚠️ Important Disclaimer:
This guide is provided for illustration purposes only. It is not an installation manual and does not replace manufacturer instructions, professional surveys/design, or building regulations. Site conditions vary. Clever Shield Coatings Ltd accepts no liability for actions taken based on this information. Always follow current product data sheets and consult a competent professional where required.
This guide is provided for illustration purposes only. It is not an installation manual and does not replace manufacturer instructions, professional surveys/design, or building regulations. Site conditions vary. Clever Shield Coatings Ltd accepts no liability for actions taken based on this information. Always follow current product data sheets and consult a competent professional where required.
1. What the system does
Wykamol Damp-Proofing Injection Cream is designed to form a new chemical damp proof course (DPC) within the mortar bed of masonry walls affected by rising damp. The cream diffuses into the capillaries of the mortar, curing to create a water-repellent barrier that helps prevent moisture from travelling upward.
2. Before you begin — confirm the cause
- Verify that symptoms are consistent with rising damp (e.g., tide marks and salts up to ~1 m from floor, damp skirtings).
- Rule out or fix other causes first (leaks, high external ground levels bridging the DPC, defective gutters/downpipes, condensation).
- Check internal plaster for hygroscopic salt contamination — contaminated finishes usually require removal and replacement or isolation after treatment.
3. Tools & materials
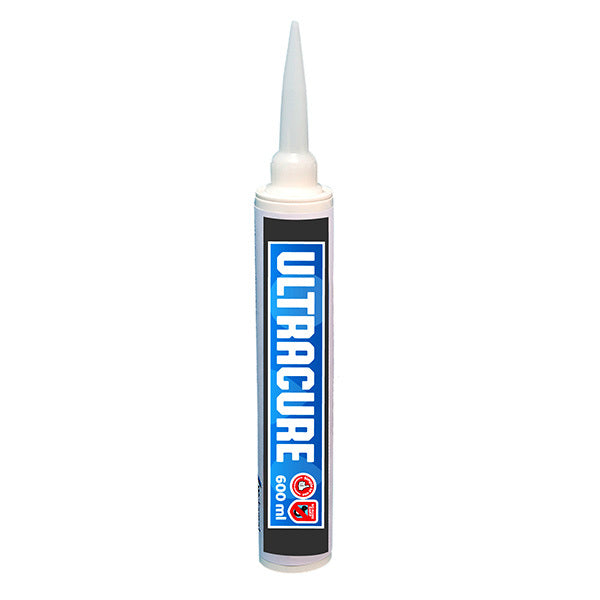
- Wykamol Damp-Proofing Injection Cream (cartridges or foil packs)
- Applicator gun and injection nozzle/extension tube
- Drill with SDS masonry bit (typically 12 mm; confirm with data sheet)
- Measuring tape/marker, dust blower or vacuum
- Mortar repair/filler and sealant for making good
- PPE: gloves, eye protection, dust mask, hearing protection
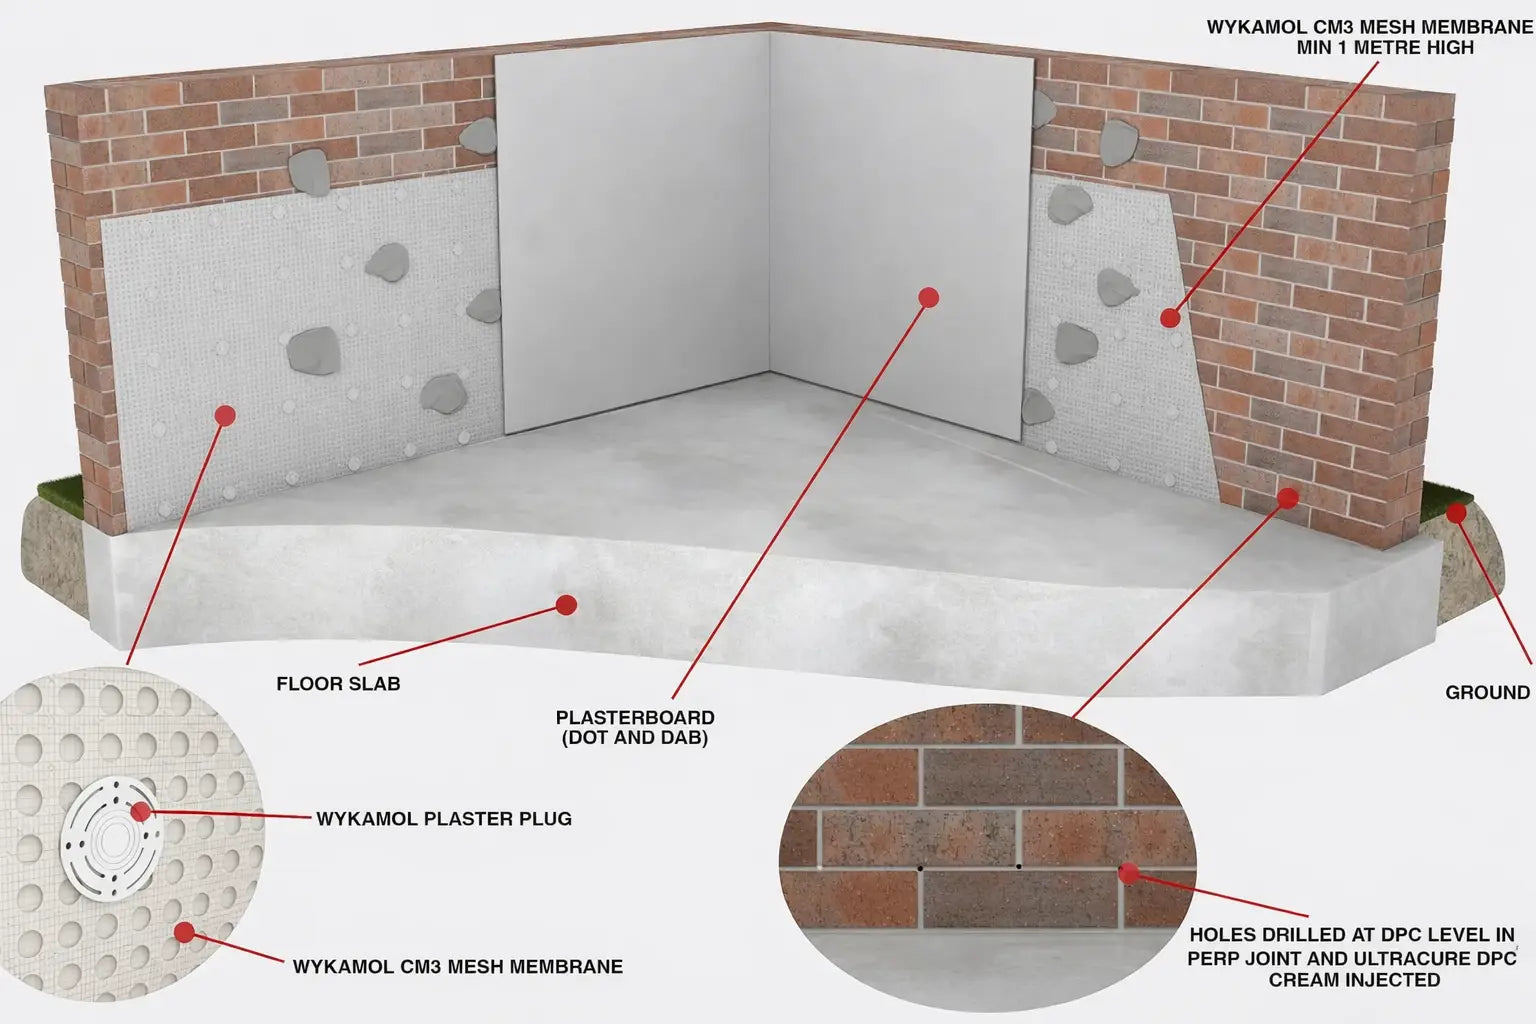
4. Setting out the DPC line
- Choose a continuous horizontal mortar bed close to floor level (internal or external), typically 150 mm above external ground level, avoiding areas that may be bridged.
- Where walls step or change level, keep the new DPC continuous. Treat all intersecting walls and abutments.
- For cavity walls, treat both leaves if rising damp is present in each, or as specified in the survey/design.
5. Drilling pattern (illustration only)
- Hole diameter: Typically about 12 mm (confirm on the product data sheet).
- Centres: Drill holes at regular centres (often ~120 mm apart) along the chosen mortar course.
- Depth: Drill to within ~10–20 mm of the far face of the wall (do not blow through). For cavity walls, follow guidance for each leaf.
- Angle the drill hole slightly downward (e.g., 5–10°) to assist cream retention.
- Clear dust from each hole with a blower or vacuum for consistent uptake.
6. Injection procedure
- Fit the cartridge/foil pack to the applicator gun and attach the nozzle/extension tube.
- Insert the nozzle to the back of the hole and inject cream while slowly withdrawing the nozzle, filling the hole fully with minimal air pockets.
- Repeat for all holes along the run. Cap/plug holes if specified, or make good with mortar after initial set as directed.
- Treat return walls, nibs, and any internal partitions that intersect the treated wall to maintain continuity.
7. After injection — drying & salts
- The wall takes time to dry down — typically many weeks, depending on thickness, ventilation and season.
- Salts: Hygroscopic salts in existing plaster can continue to attract moisture and cause staining. Remove contaminated plaster to the recommended height (usually at least 300 mm above the highest salt line) and either:
- Replaster using a compatible renovation plaster, or
- Isolate with a Wykamol CM3 Mesh membrane and then plaster/board over.
- Avoid re-decorating until the substrate and finishes are fully dry. Use breathable finishes where specified.
8. Bridging risks to avoid
- High external ground levels or internal screeds/renders that sit above the DPC line can bridge the new DPC — reduce levels or insert horizontal breaks as designed.
- Skirtings fixed through damp masonry before full dry-down can re-introduce staining — allow adequate drying and use suitable fixings/dpcs as needed.
- Salt-contaminated plaster left in place can continue to show damp symptoms even after a successful DPC installation.
9. Quality checks & common pitfalls
- Holes too shallow or spaced too wide reduce effectiveness — measure and mark before drilling.
- Dust left in holes reduces uptake — always clear dust before injection.
- Inconsistent DPC level around corners and returns creates bypass routes — maintain continuity.
- Failure to address other moisture sources (leaks/bridging) can mask results.
10. Product availability
All components required for this installation—Wykamol Damp-Proofing Injection Cream, applicator guns/nozzles, mortar repair materials, Wykamol CM3 Mesh for isolation, and compatible renovation plasters—are available directly from Clever Shield Coatings. Use the search bar on our website or browse our product categories to locate the items you need.
⚠️ Legal Notice:
This content is a general, illustrative overview. It is not manufacturer guidance and may not suit all properties. Specifications, regulations and recommended methods can change. Clever Shield Coatings Ltd provides this information “as-is” without warranty. Always follow current product data sheets and consult qualified professionals before commencing work.
This content is a general, illustrative overview. It is not manufacturer guidance and may not suit all properties. Specifications, regulations and recommended methods can change. Clever Shield Coatings Ltd provides this information “as-is” without warranty. Always follow current product data sheets and consult qualified professionals before commencing work.